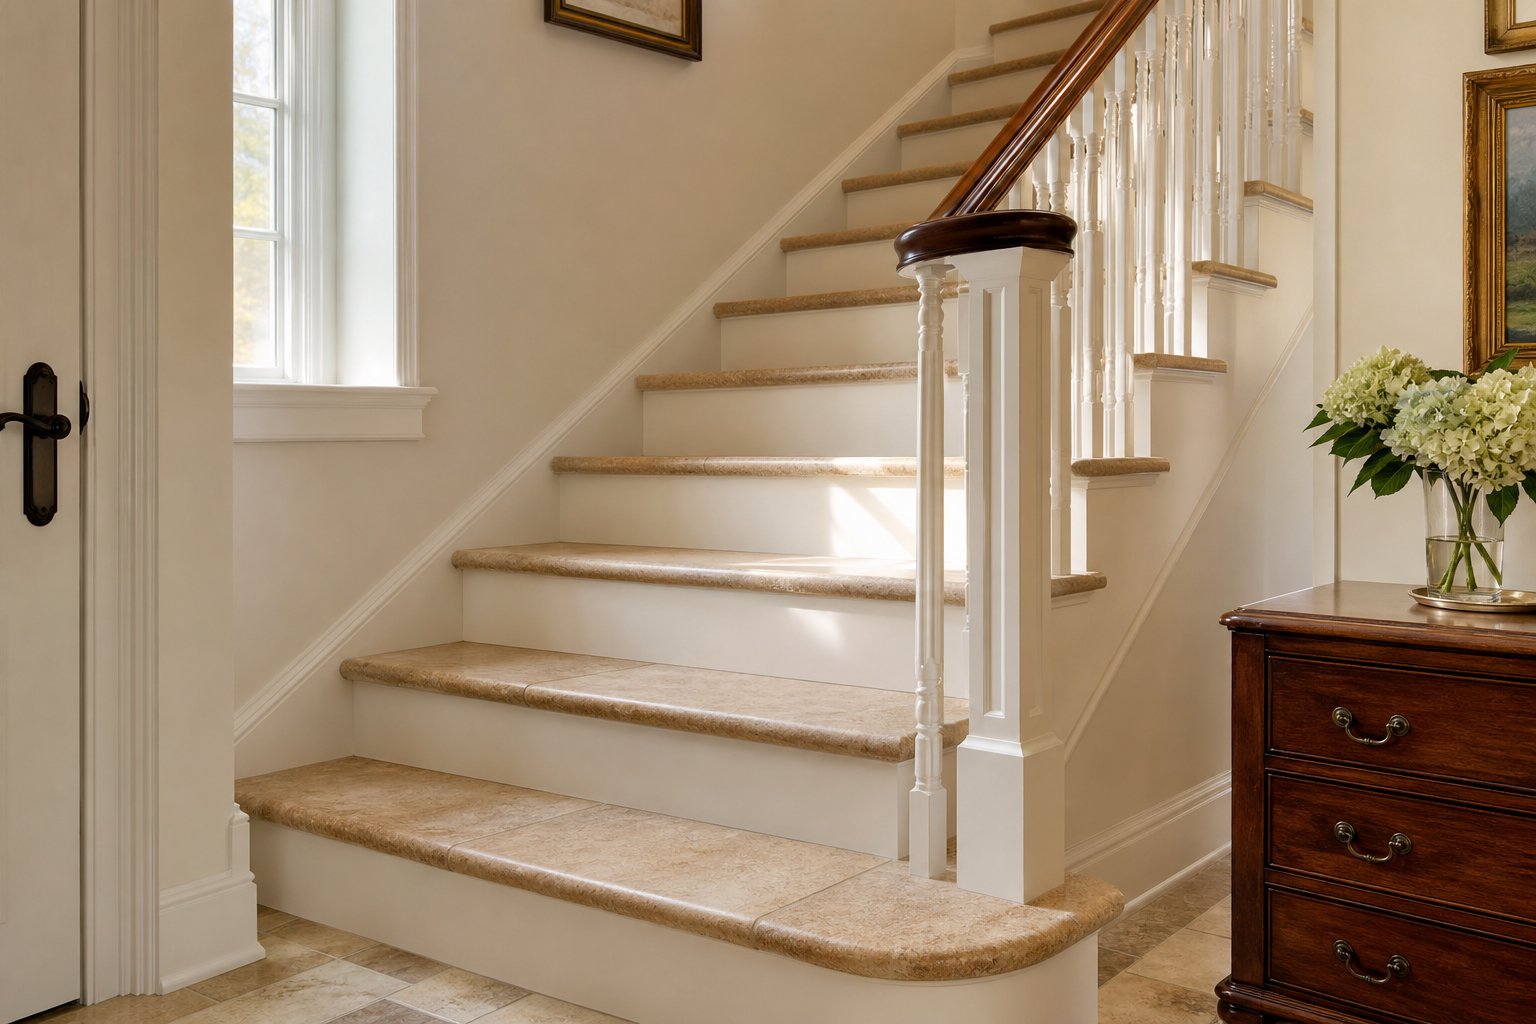
Your staircase is one of the most-used surfaces in your home — and one of…
Tiling Over Existing Tile: When It Works and When to Tear Out First
You’re standing in your Chester County bathroom, kitchen, or mudroom staring at dated tile that’s been there since the ’90s. The grout is stained, the pattern is tired, and you’re ready for a change. But then a neighbor mentions they tiled right over their old floor — no demo, no mess, no big expense. Now you’re wondering: is that actually a good idea?
Tiling over existing tile can work beautifully — or it can create serious, expensive problems down the road. As experienced tile installers serving Chester County, Delaware County, and the Main Line for years, Milford Mills Tile has seen both outcomes. This guide covers exactly when overlaying old tile makes sense, when it doesn’t, and what your installer will check before making the call.
The Case for Tiling Over Existing Tile
When done correctly, tiling over existing tile has real advantages for Chester County homeowners:
- Less demolition mess. Tile demo creates enormous amounts of dust, debris, and disposal costs — especially in older homes where tile was set in a thick mortar bed.
- Lower labor cost. Skipping tearout saves hours of work, which reduces your overall project budget.
- Faster project timeline. No demo means your kitchen, bathroom, or laundry room is back in service sooner.
- Protects original subfloor. Older homes sometimes have subfloors that are tricky to work with. Leaving the original tile undisturbed avoids disturbing a stable substrate.
These are genuine benefits — but they only matter if the underlying conditions allow for a quality overlay installation. The first step is always a thorough inspection.
The 5 Conditions That Must Be Met
Before Milford Mills ever agrees to tile over existing tile, we check five critical conditions. All five must pass — not four out of five.
1. The Existing Tile Must Be Solidly Bonded
Walk slowly across the floor (or press firmly on wall tile) while listening and feeling for hollow spots. A hollow, “clacking” sound indicates tiles that have debonded from the substrate below. Even a single hollow tile signals a bond failure in that area, and tiling over it traps the problem rather than fixing it. The new layer will eventually crack or delaminate in those same spots.
Our installers tap-test every square foot of an existing tile surface before recommending overlay. If more than 10–15% of the area sounds hollow, tearout is the right call.
2. The Surface Must Be Flat and Level
New tile needs a flat substrate — ideally no more than ⅛ inch variation over 10 feet (per TCNA guidelines). Older tile installations, especially in Chester County’s historic homes, sometimes have significant lippage (uneven tile edges) or sections that have risen or dipped over time.
If the existing tile is uneven, your new tile will mirror those imperfections — and they’ll be more noticeable with large-format tile. In some cases, a self-leveling compound can address minor dips, but major unevenness is a reason to demo.
3. Door Clearances and Transitions Must Work
Adding a tile layer raises the floor height by the thickness of the new tile plus adhesive — typically ½ inch to ¾ inch total. Before any overlay installation, check:
- Will bathroom doors, pocket doors, or cabinet doors still clear the raised floor?
- Will there be a tripping hazard at thresholds where new tile meets hardwood, carpet, or vinyl in adjoining rooms?
- Are there built-in appliances (dishwasher, refrigerator, range) that depend on a specific floor height?
These clearance checks often eliminate overlay as an option in kitchens and tight bathrooms — particularly in older Main Line homes with doorways that were framed with no height to spare.
4. The Total Assembly Weight Must Be Structurally Acceptable
Tile is heavy. Adding a second layer means your subfloor and floor joists are now carrying the weight of two full tile installations. In most modern construction, this isn’t a problem — but in older Chester County homes with aging floor joists or spans that were originally marginal, the added load matters.
Your installer should factor this in, especially on second-floor bathrooms and laundry rooms where the floor structure is more susceptible to deflection.
5. There Must Be No Moisture or Mold Issues Underneath
This is the most important condition of all. If there is any moisture infiltration, active leak history, or suspected mold under the existing tile, tiling over it will trap the problem. Moisture issues don’t disappear when you cover them — they get worse, often dramatically, and then re-appear as grout cracking, tile debonding, or visible mold growth through the new installation.
In any bathroom or laundry room, we strongly recommend confirming there is no moisture damage before committing to an overlay approach.
When Tearout Is the Right Call
Even when you’d prefer to avoid demo, some situations make tearout the only responsible option:
- Multiple existing layers already. If your subfloor is already carrying two tile layers, adding a third is almost certainly not structurally appropriate — and it will put your floor height so far above adjoining surfaces that transitions become unworkable.
- Cracked or broken tiles. Cracks in existing tile often indicate subfloor movement. Tiling over a subfloor that is moving will crack the new tile in the same locations.
- Asbestos-containing tile. Homes built before 1980 may have 9″×9″ vinyl composite tiles or mastic adhesive under the ceramic that contains asbestos. This requires professional abatement — never attempt to remove or disturb it yourself, but it also changes the overlay calculus significantly.
- Active or past moisture damage. See above. No exceptions.
- Planning a heated floor system. Radiant electric heating systems work best when installed close to the finished tile surface. Adding the system over an existing tile layer, then tiling over that, significantly reduces heating efficiency.
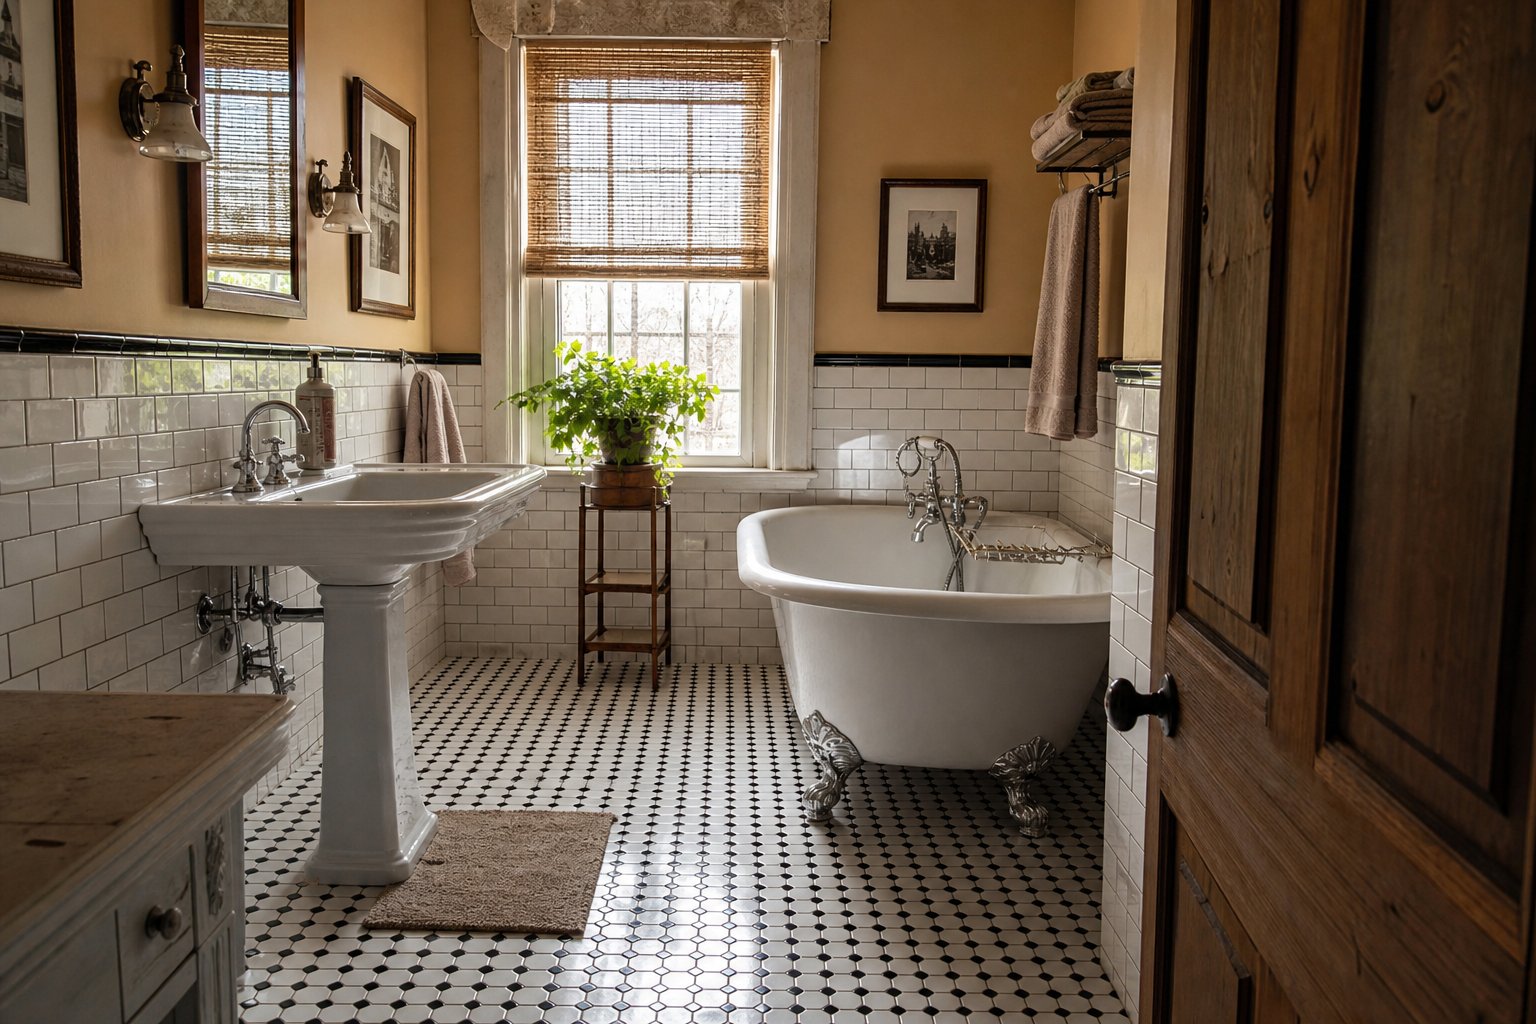
Chester County Pro Tip: Many Chester County and Main Line homes were built in the mid-20th century with thick “mud bed” mortar installations — floors set in 1–2 inches of sand-cement mortar rather than thinset. These installations are incredibly durable and often perfectly flat, but they already add significant height. If your home has mud-bed tile, adding another layer on top is almost always inadvisable. An experienced local installer will recognize this immediately.
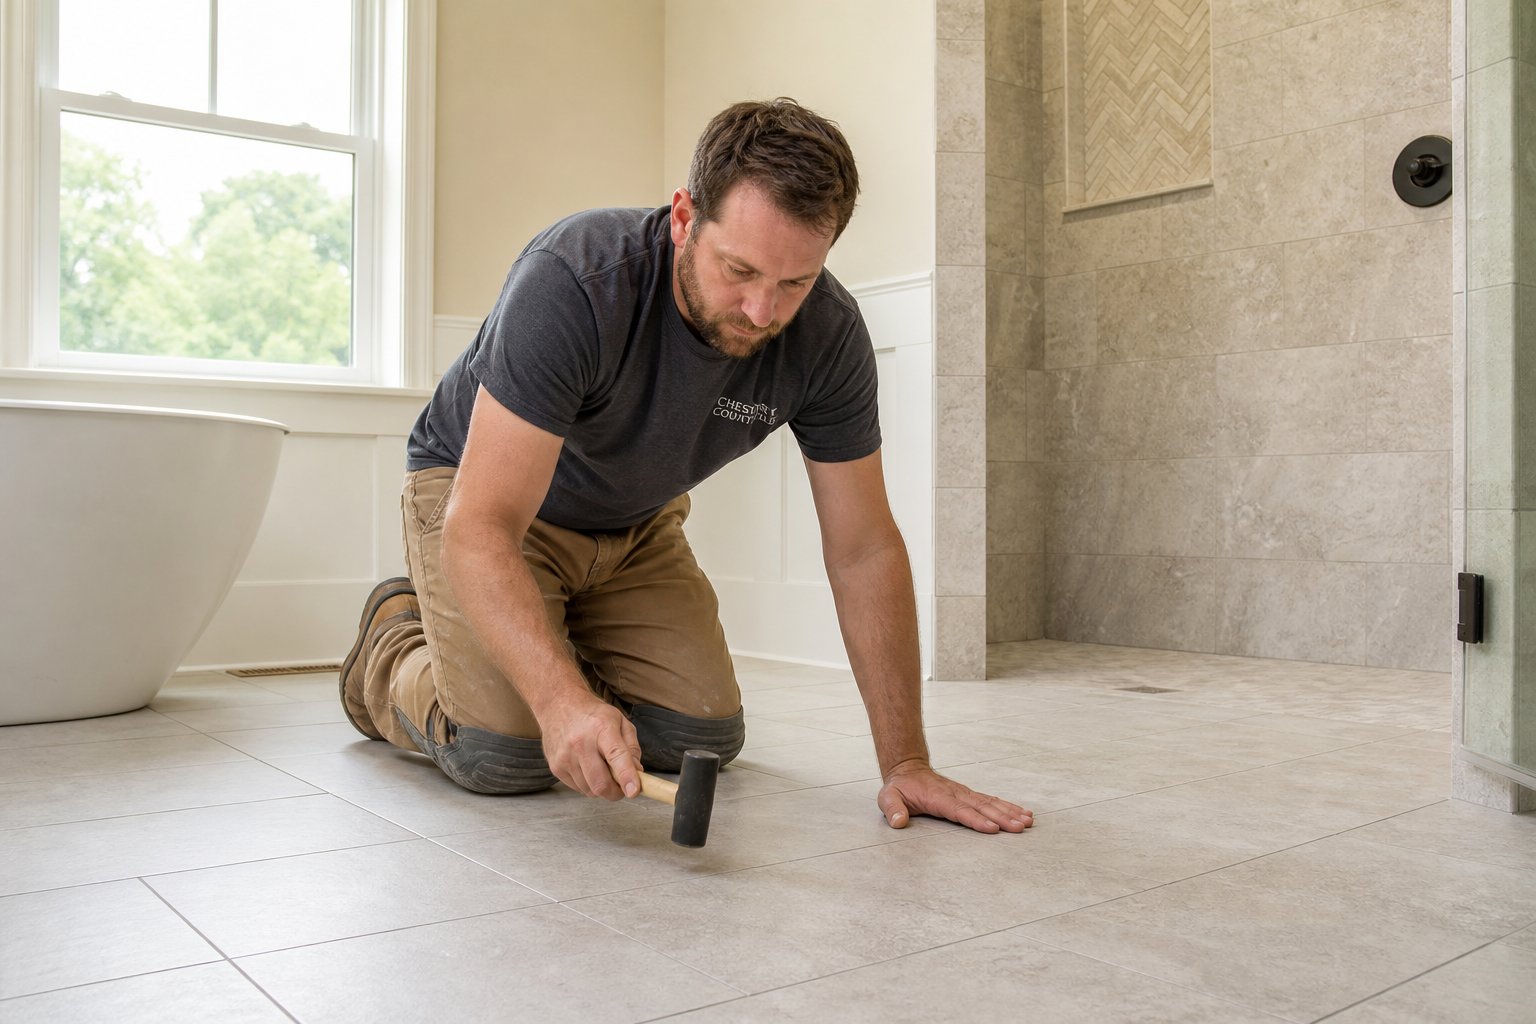
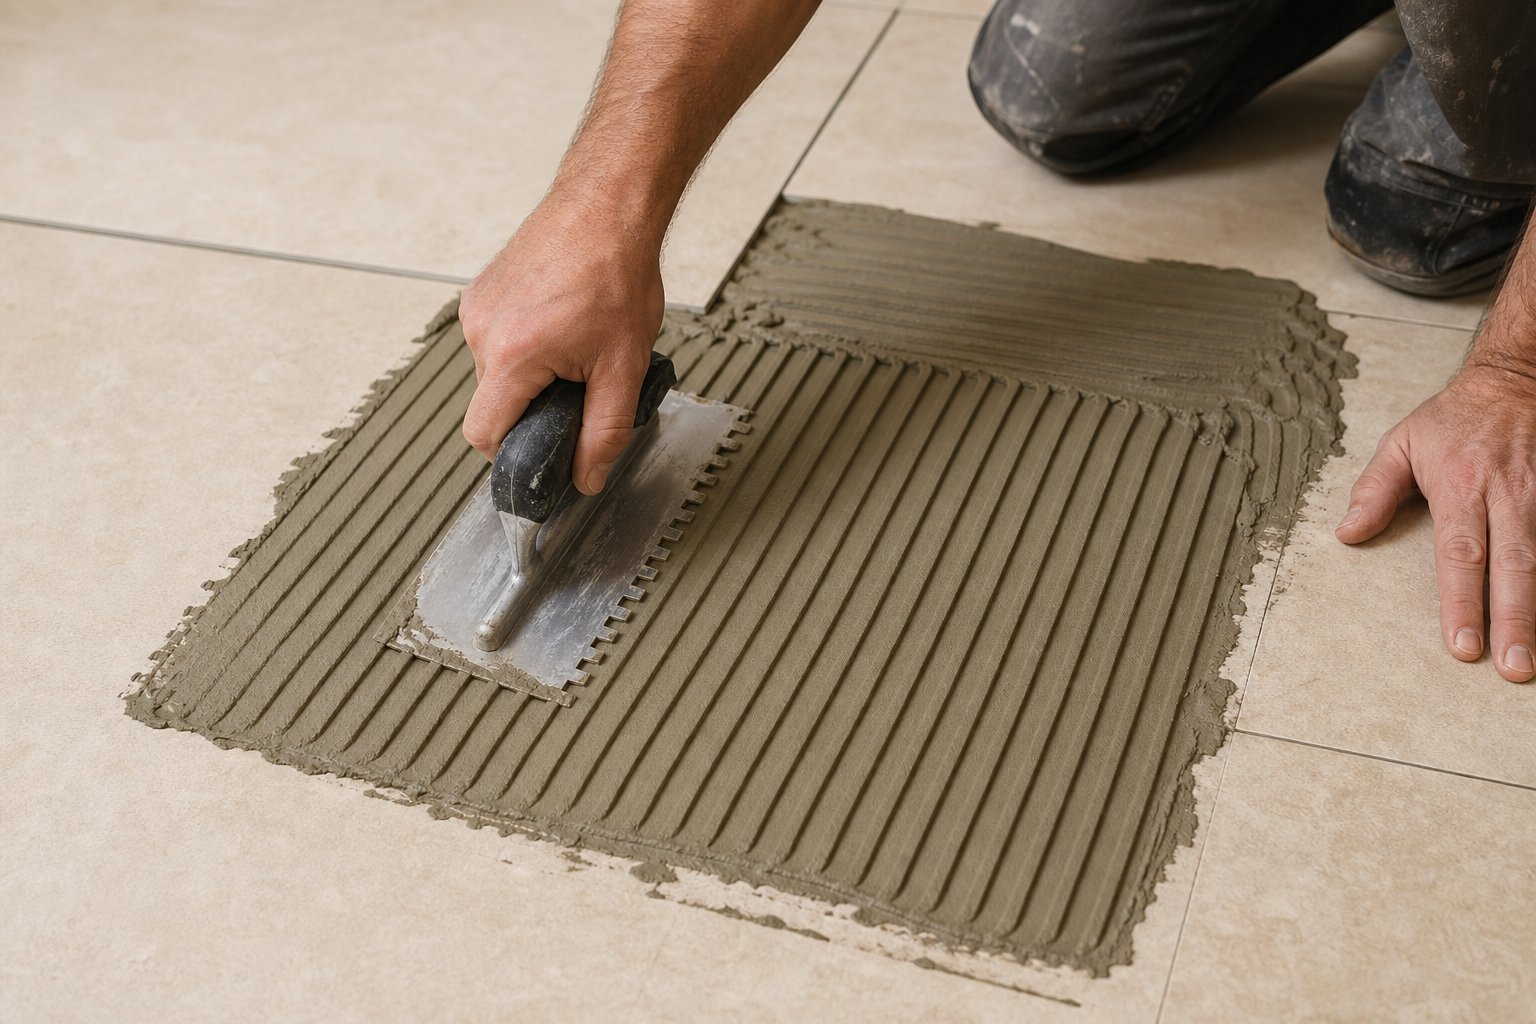
What a Proper Overlay Installation Looks Like
When all five conditions are met and overlay is the right choice, here is what a professional installation involves:
- Deep clean and degrease the existing surface. Tile adhesive bonds to clean tile — not to decades of wax, cleaning product buildup, or soap scum. The existing surface gets scrubbed with a degreasing agent and allowed to dry completely.
- Lightly scarify (scratch) the surface. Smooth, glazed tile surfaces benefit from light mechanical abrasion to improve thinset bond. This is typically done with an angle grinder or diamond cup wheel.
- Apply a suitable bonding mortar or modified thinset. Not all thinsets perform equally on existing tile. A polymer-modified thinset or a dedicated tile-over-tile adhesive is required. Standard gray mortar is not adequate for overlay applications.
- Offset grout joints. New tile grout joints should not align with old tile grout joints — a phenomenon called “grout joint stacking” creates weak points where the new installation can crack over time. Offset new tiles by at least half a tile width in both directions.
- Install and grout normally. Once set, the new tile is grouted with the same care as any fresh installation.
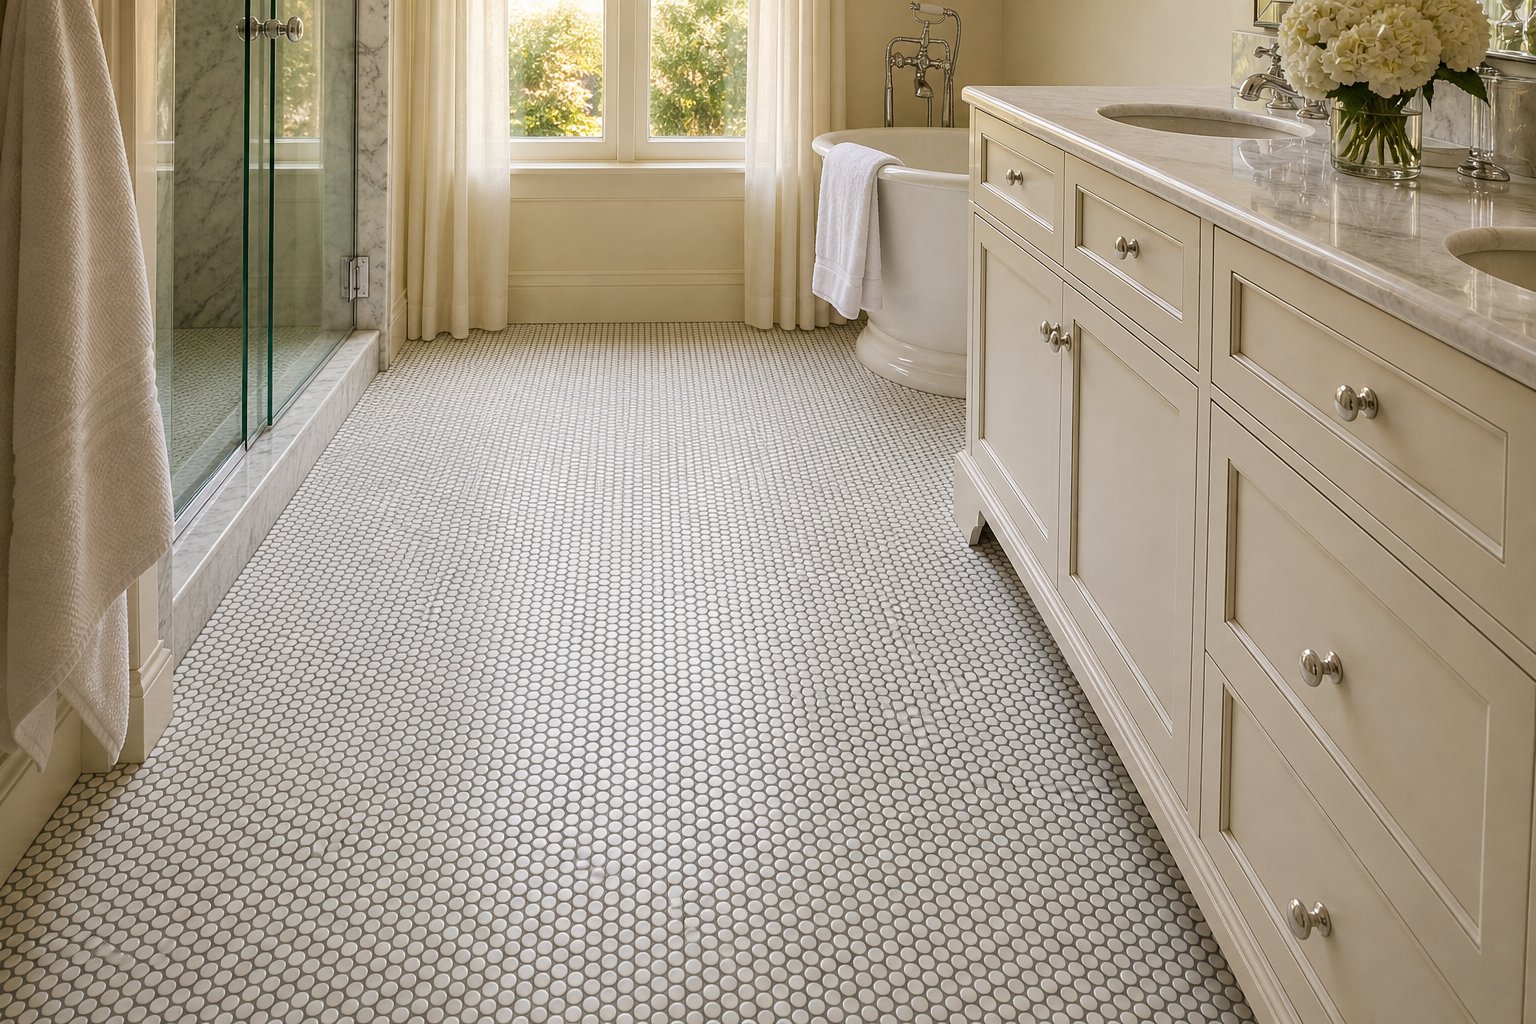
What About Walls and Showers?
Overlay is most commonly discussed for floors, but it comes up for shower walls too — especially in Chester County homes where someone is trying to update a dated shower tile without gutting the entire bathroom.
Wall overlay is even more demanding than floor overlay because:
- The bond must hold against gravity with no compression support
- Shower walls are exposed to constant thermal cycling and moisture
- Any bond failure on a shower wall becomes a leak pathway — potentially into the wall cavity
We are generally much more conservative about recommending wall overlays in wet areas. In most shower situations, the tile has to come off, the waterproofing membrane has to be inspected and repaired, and a fresh installation is the only responsible approach. This is especially true if the existing tile was installed in the 1980s or 1990s when waterproofing standards were significantly lower than today.
Dry walls — a bathroom accent wall, a fireplace surround — can be overlay candidates if the existing tile is fully bonded and the surface is flat. But wet areas are a different story entirely.
Realistic Cost Comparison for Chester County Homeowners
One of the main reasons homeowners ask about tile overlay is cost. Here’s a realistic breakdown of what you save (and what you don’t):
Overlay saves:
- Demolition labor (typically $1–$3 per square foot)
- Demo debris disposal (dumpster or haul-away costs)
- Patching/skim-coating the substrate after demo
Overlay does NOT save:
- The cost of the new tile itself
- The installation labor (thinset, grout, trim, sealing)
- Transition pieces and threshold work at floor boundaries
- Any door rehang or undercut work needed for clearance
In a typical Chester County bathroom of 60–100 square feet, tearout adds roughly $300–$700 to the total project cost. That’s meaningful — but it needs to be weighed against the risk of doing an overlay over conditions that aren’t truly suitable and ending up with a failed installation that costs far more to fix later.
Let Milford Mills Make the Call With You
There’s no universal right answer to the overlay question — it depends entirely on what’s under your feet (or on your walls) right now. That’s why we always start with a thorough on-site inspection before recommending a path forward.
Milford Mills Tile brings years of experience with Chester County and Main Line homes — including the older stock where mud-bed floors, moisture surprises, and vintage tile are common. We’ll give you an honest assessment of whether overlay makes sense for your specific situation, not just the answer that minimizes demo cost on paper.
Ready to talk through your tile project? Contact Milford Mills Tile to schedule a consultation. You can also explore our tile installation services, browse recent projects in Chester County and beyond, or learn more about the bathroom tile installations we’ve completed across the region. If you’re weighing whether to renovate your floor or full bathroom, our guide to basement tile installation in Chester County covers many of the same structural considerations. And for tile that needs to handle high moisture and freeze-thaw cycles, check out our pool deck tile guide.
Related Posts