June 30, 2026Milford Mills Tile TeamBathroom Tile14 min read
Master Bathroom Tile Installation: A Complete Guide for Main Line PA Homeowners
Share
Quick Summary Master bathroom tile installation on the Main Line requires selecting the right materials for floors, showers, and accent walls — then executing each phase with certified precision. Milford Mills Tile covers every step: substrate prep, waterproofing, layout, setting, and grouting, using Schluter and Wedi systems. This guide explains tile choices, the installation process, typical costs, and what to ask your installer.
Your Main Line master bathroom should feel like the retreat it was designed to be — not the dated, builder-grade space it may have started as. For many Chester County homeowners, the single biggest transformation comes from expert master bathroom tile installation: Main Line PA homes with beautifully executed tile work command stronger resale values, sell faster, and simply feel better to live in every day.
At Milford Mills Tile, we’ve completed over 1,000 tile installations across Chester County, Delaware County, Montgomery County, and the Main Line communities — Radnor, Villanova, Wayne, Berwyn, Bryn Mawr, Devon, Malvern, and beyond. Master bathrooms account for a significant portion of that work, and the patterns are consistent: homeowners who invest in the right tile, the right installer, and a thorough process get a finished product that lasts decades. Those who cut corners spend years dealing with cracked grout, water damage, and regret.
This guide is everything you need to make the right choices.
Why the Main Line Master Bathroom Demands Precision Tile Work
Main Line homes are not cookie-cutter. Whether you’re working with a 1920s stone colonial in Haverford, a 1960s split-level in Wayne, or a newer build in Malvern, each structure presents different subfloor conditions, moisture challenges, and design standards that off-the-shelf installation approaches can’t reliably address.
The consequences of poor tile installation in a master bathroom are serious:
Water intrusion. A shower surround with inadequate waterproofing — even a small failure in the membrane — can allow moisture into the framing. In Chester County’s older homes, this can cause structural damage that costs far more to repair than the original tile job.
Tile movement and cracking. Subfloors that flex under load, or uncoupling systems that weren’t used, cause grout to crack within a year or two of installation — especially in large-format tile applications.
Lippage and uneven surfaces. Large-format tiles (anything over 15 inches) require near-perfect substrate flatness. Without it, edges lift and the surface becomes a tripping hazard.
Failed grout. Using the wrong grout type, spacing, or sealer for the application leads to staining, deterioration, and ongoing maintenance headaches.
Milford Mills Tile is Wedi Certified and Schluter Certified — two of the most demanding certifications in the waterproofing and tile edge-treatment space. That training shows in every master bath we complete. You can explore our full range of bathroom tile installation services to see what’s included in each project type.
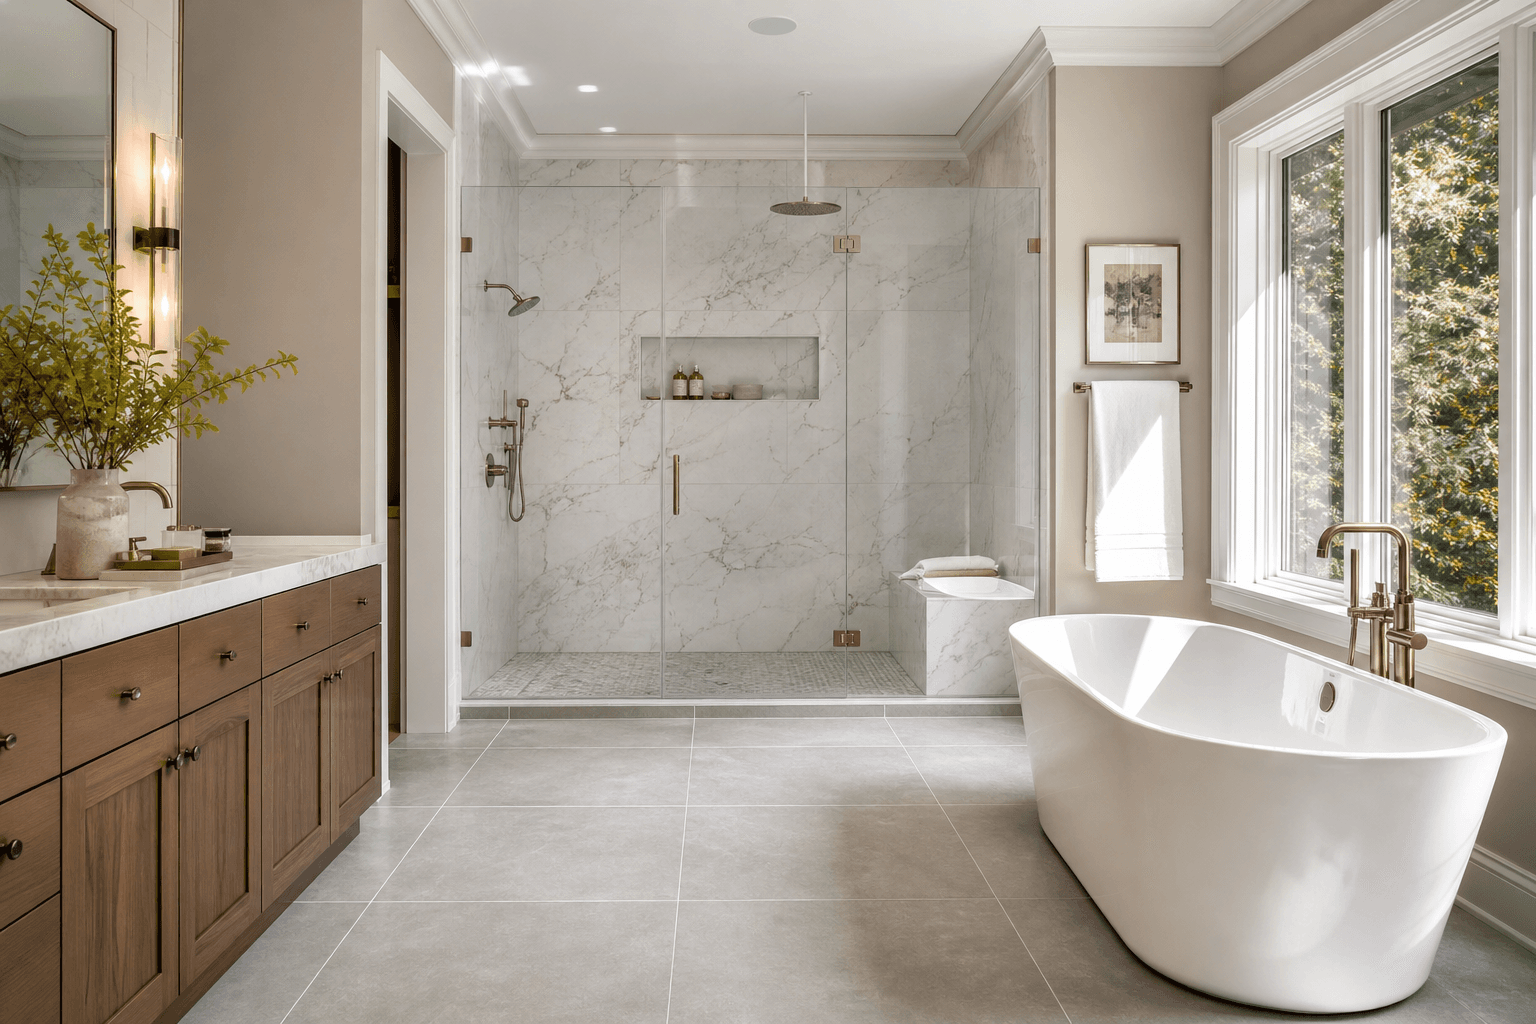
A properly installed master bathroom shower uses Schluter trim, continuous waterproofing membrane, and precision layout — all standard in Milford Mills Tile installations.
Best Tile Choices for Main Line Master Bathrooms
Material selection sets the tone for everything that follows. Here’s what works in Main Line master bathrooms, and what to avoid.
Porcelain (Large Format)
The dominant choice for Main Line master bathrooms right now. Large format porcelain — 24×24, 24×48, or 12×24 planks — creates a seamless, spa-like feel with fewer grout lines and easier long-term cleaning. It’s hard, dense, and virtually impervious to moisture when properly installed. The challenge: large format tiles require an exceptionally flat substrate. Expect your installer to use self-leveling compound or grinding to achieve the required ⅛” flatness over 10 feet before a tile goes down.
Best for: Shower floors and walls, bathroom floors, feature walls.
Natural Stone (Marble, Travertine, Slate)
Still popular in Main Line homes — especially in the communities with older, traditional architecture where marble has always been appropriate. Natural stone is beautiful and adds genuine luxury. It also requires sealing (some stones annually), is more porous than porcelain, and some varieties stain or etch when exposed to cleaning products. Marble shower floors need to be specified carefully — polished marble is slippery when wet; honed or tumbled finishes provide better traction.
Best for: Feature walls, soaking tub surrounds, bathroom floors (with appropriate sealer and maintenance plan).
Ceramic (Mid-Size Format)
Ceramic tile in 12×12 or 12×24 format remains a budget-friendly workhorse. It’s lighter than porcelain, easier to cut, and well-suited to powder rooms or secondary bathrooms. In a primary master bathroom, most Main Line homeowners step up to porcelain for the durability and appearance benefits — but ceramic remains a perfectly viable choice for specific applications like accent strips or niches.
Mosaic Tile (Glass, Stone, or Porcelain)
Mosaic tile — typically sold in mesh-backed sheets — is ideal for shower floors (the small format allows the floor to slope correctly to the drain without visible lippage) and accent strips. Glass mosaic adds light and color to an otherwise neutral palette. The more grout lines mosaic tile creates, the more important sealing becomes.
What to Avoid
Highly polished stone floors in a shower. Slip hazard, period.
Porous, unsealed stone anywhere near a shower. Water will penetrate and discolor.
Very dark grout with light tile in high-humidity areas. Efflorescence (white mineral deposits) will be highly visible.
Rectified large-format tiles on an unleveled subfloor. Lippage is guaranteed.
100+ Five-Star Reviews
Get a Free Tile Quote
20+ years installing bathroom, kitchen, and custom tile across Chester, Delaware & Montgomery counties, PA.
Understanding the process helps you evaluate bids and set realistic project timelines. A proper master bathroom tile installation typically runs 5–8 days of active work, not including lead time for tile procurement.
Phase 1: Substrate Preparation (Days 1–2)
Everything that follows depends on what happens here. The subfloor must be inspected for deflection — any bounce or flex will crack tiles and grout over time. Depending on construction, we may install Schluter Ditra uncoupling membrane (which lets the subfloor and tile move independently) or cement backer board as the tile substrate.
For shower walls and floors, we use Wedi waterproofing panels or liquid-applied membrane systems applied to cement board. These are not optional steps on a Main Line master bathroom renovation — they’re the difference between a 30-year shower installation and a 5-year problem.
Phase 2: Layout and Dry-Run (Day 2)
We lay out all tiles dry before any mortar goes down. This step catches problems: an odd cut at a doorway, a pattern that starts slightly off-center, a tile size that doesn’t divide evenly into the room. Layout for a master bathroom involves balancing floor, shower, and vanity wall tile planes so that cuts don’t fall in awkward places.
Phase 3: Setting (Days 3–5)
Tiles are set using appropriate large-format tile mortar — typically a polymer-modified thinset that meets ANSI A118.4 standards for large and heavy tiles. We back-butter every large format tile to achieve 95%+ mortar coverage (the TCNA standard for wet areas). Lippage is managed using leveling clips and wedges throughout the setting process.
Phase 4: Grouting (Day 6)
Grout selection matters. Epoxy grout is the most durable and stain-resistant choice for shower floors and areas with constant moisture exposure, though it’s more difficult to work with. Sanded cement grout works well for joints over ⅛”. Unsanded for tighter joints. All grout in wet areas gets sealed after cure — typically 72 hours post-application.
Phase 5: Trim, Fixtures, and Final Inspection
Schluter profiles cover every transition and edge: floor-to-carpet transitions, changes in flooring material, and the perimeter of shower niches. Fixture cutouts — for shower valves, drain assemblies, and recessed niches — are done with precision so trim plates sit flat. We do a final walk-through with every client before signing off.
If you’re planning a master bathroom project, our team at Milford Mills Tile serves all Main Line PA communities including Wayne, Radnor, Berwyn, Devon, Villanova, and Malvern.
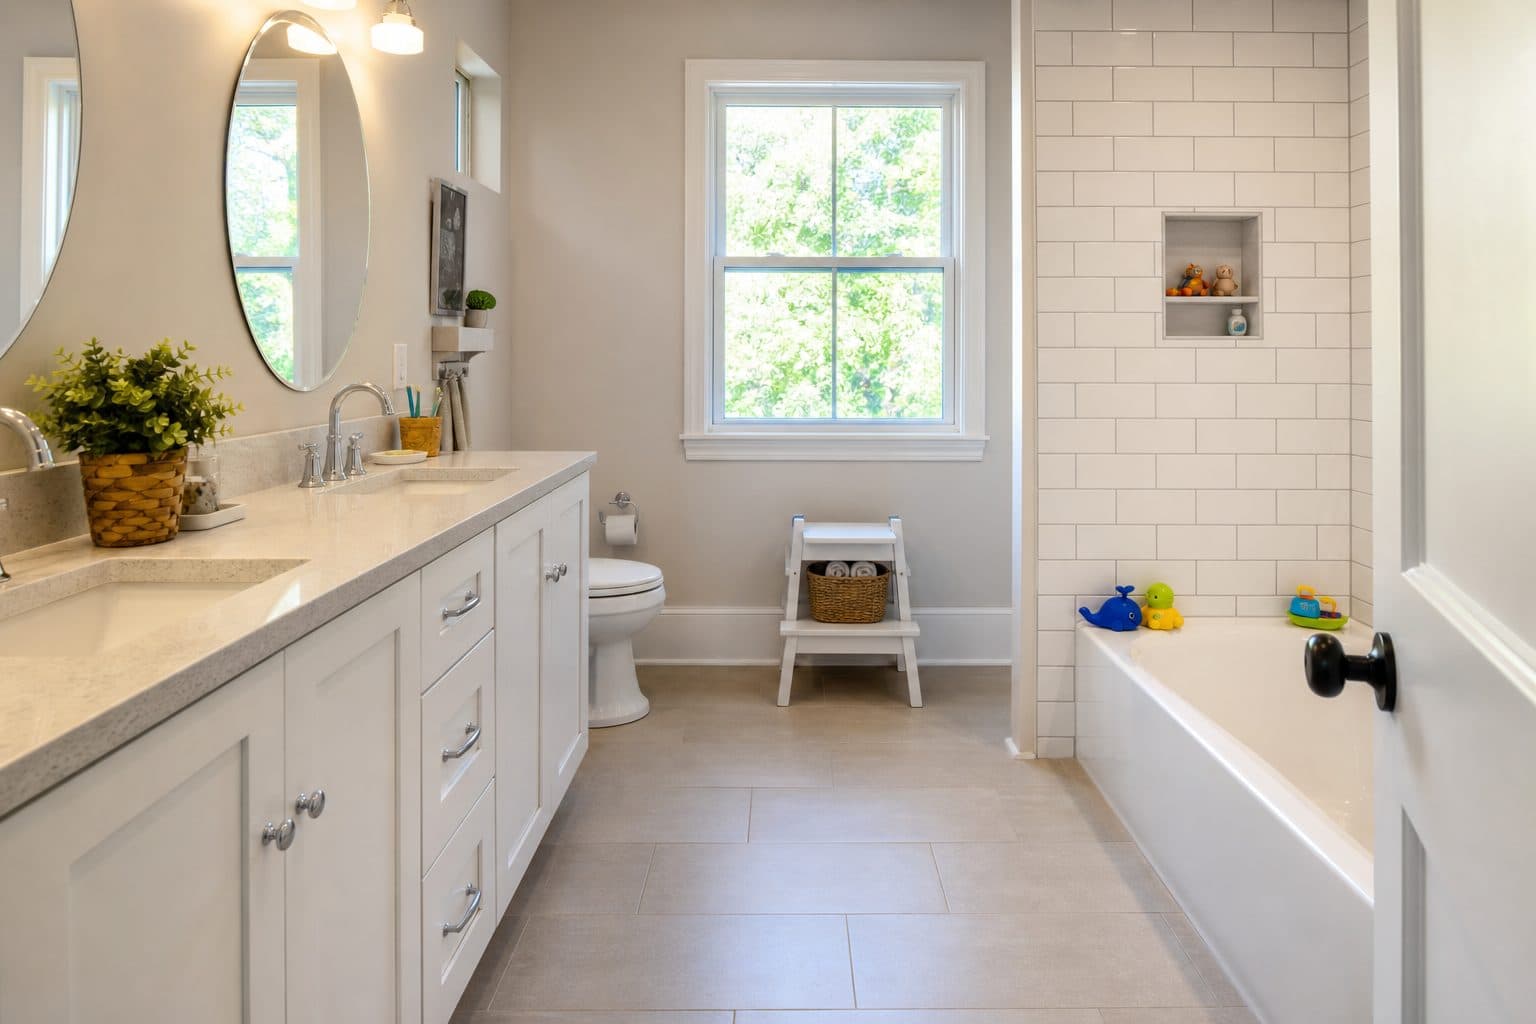
Large format porcelain floor tile requires exceptional substrate prep and precision layout. Milford Mills Tile uses leveling systems to achieve zero-lippage results on every job.
Shower Tile vs. Floor Tile: Getting the Balance Right
In a master bathroom, the shower and the floor are the two dominant visual surfaces. They need to work together — but they have different functional requirements, and treating them identically is usually a design mistake.
The Shower
The shower is a wet zone by definition. Every surface — floor, walls, niches, ceiling if tiled — needs continuous waterproofing behind it, and the tile needs to work with that membrane rather than against it. Design considerations:
Wall tile should be large format or mid-size. Larger tiles mean fewer grout lines and less grout maintenance in the shower.
Shower floors should be smaller format. The floor must pitch to the drain — typically ¼” per foot — and small-format tile accommodates that slope without visible lippage. Classic choices: 2×2 mosaic, penny tile, or 4×4 ceramic.
Niche tile is a design opportunity. The shower niche — recessed into the wall for shampoo and soap — is often tiled in a contrasting or accent material. It’s a small area with high visual impact. See our shower niche tile guide for ideas specific to Chester County homes.
The Bathroom Floor
The floor is the largest single tile surface in most master bathrooms. Large-format tile (24×24 or larger) reads cleanest and most luxurious in a Main Line master bath. Key considerations:
Heated floor systems integrate here. Electric mat radiant heat — common in Main Line master bathrooms — goes under the tile, on top of the uncoupling membrane. It’s much easier to add during a tile renovation than after.
Grout color is a major design decision. Light tile with matching grout disappears. Light tile with dark grout creates a grid effect. Either can be the right choice — just be deliberate about it.
Transitions matter. The edge where bathroom tile meets hallway hardwood, carpet, or a different tile requires a Schluter transition strip. Choosing the right profile (height, finish, material) is part of our layout process.
What Does Master Bathroom Tile Installation Cost on the Main Line?
Direct answer: master bathroom tile installation on the Main Line typically costs between $4,500 and $14,000+ for labor and materials, depending on bathroom size, tile selection, and complexity. Here’s how that breaks down.
Labor
Experienced tile installation on the Main Line runs $15–$25 per square foot for straightforward applications, and $20–$35+ for complex work (large format on a difficult substrate, intricate patterns, floor-to-ceiling shower with niche). A standard 80–100 square foot master bathroom might require 12–20 hours of skilled labor across the phases described above. Substrate repair, waterproofing membrane, and Schluter trim add additional cost that varies by scope.
Tile Materials
Budget porcelain: $3–$6/sq ft. Mid-range porcelain or ceramic: $6–$15/sq ft. Premium large-format porcelain: $12–$30/sq ft. Natural stone: $15–$60+/sq ft. Purchase 10–15% overage to account for cuts and future repairs. Mosaic accent tile costs more per square foot but covers smaller areas.
Waterproofing and Substrate
Wedi panels, Schluter Kerdi membrane, or liquid-applied waterproofing systems add $500–$1,500 to a full shower installation, depending on size. This is not a place to cut costs. A failed waterproof membrane means demolition, mold remediation, and reinstallation — easily $8,000–$20,000 in damage repair.
Fixtures and Trim
Schluter profiles, drain assemblies, niche frames, and transition strips: budget $300–$700 for a full master bathroom project.
Ready to get an accurate number for your specific project? Request a quote — we provide detailed, itemized estimates with no obligation.
Design Details That Separate Good from Great
The difference between a competent tile job and a genuinely beautiful Main Line master bathroom often comes down to a handful of specific decisions:
Vertical vs. Horizontal Tile Orientation
The same tile, installed vertically on a shower wall, reads completely differently than it does horizontally. Vertical installation draws the eye upward, making low-ceilinged bathrooms feel taller. Horizontal installation emphasizes width and grounds the space. Know which effect you want before your installer starts.
Offset vs. Stacked Layout
Traditional brick-offset (one-third or one-half stagger) is classic and forgiving of minor variations. Full stacked layout (all grout lines perfectly aligned both directions) is modern and striking — but requires precise substrate prep and leveling to avoid noticeable misalignment.
Feature Wall vs. Full-Room Tile
Full floor-to-ceiling tile on all four walls is a significant investment. Many Main Line homeowners achieve a high-end look by tiling one feature wall (typically behind the soaking tub or the vanity) to the ceiling, while keeping other walls simpler. It’s an efficient way to add drama without extending the installation budget to every surface.
Grout Line Width
Rectified large-format porcelain can be installed with joints as tight as 1/16″. Most installations use 1/8″ to 3/16″. Wider joints (up to 3/8″ for certain natural stone) are required when tile edges aren’t perfectly uniform. Don’t let anyone persuade you to use a joint width that isn’t appropriate for the tile — it will show.
Niche Placement
The shower niche should be placed between studs (avoiding the exterior wall in climates with cold winters) and at a comfortable reach height — typically 48″–60″ from the floor for adults. Plan the niche location before your tile order arrives so the tile layout accounts for it.
Frequently Asked Questions
How long does master bathroom tile installation take?
A full master bathroom tile installation — floor, shower surround, and feature wall — typically takes 5–8 working days from substrate prep through final grouting and trim. More complex bathrooms with intricate patterns, large format tile on uneven substrates, or extensive niche work may run 8–12 days. Tile curing requires 24–48 hours before traffic, and grout should fully cure (72 hours) before exposure to heavy moisture in shower areas.
Do I need to use a Wedi or Schluter-certified installer for my master bathroom?
Certification isn’t legally required, but it’s the clearest indicator that your installer has been trained in the systems that provide the longest-lasting waterproofing and tile results. Wedi panels and Schluter Kerdi/Ditra systems each have specific installation requirements — improper application voids the manufacturer’s warranty and can lead to premature failure. Milford Mills Tile is certified in both systems. For a Main Line master bathroom that will be used daily, that certification matters.
Can I tile over my existing bathroom floor without removing it?
Sometimes, yes — but it depends on five conditions: the existing tile must be solidly bonded (no hollow spots), the surface must be flat (within ⅛” over 10 feet), the added height won’t create a problem at transitions, there’s no active moisture issue, and structural load allows the additional weight. In master bathrooms, the shower area should almost never be overlaid without a thorough waterproofing inspection and membrane application on top. We evaluate every project individually before making a recommendation.
What tile size looks best in a large master bathroom on the Main Line?
For bathrooms over 80 square feet — common in Main Line master suites — large format tile (24×24, 24×48, or 12×24 plank) creates the most cohesive, spa-like appearance. Fewer grout lines make the space feel larger and are easier to clean long-term. The key constraint is substrate prep: large format tile requires a flatter surface than smaller tile, so additional leveling work is often required before installation begins. Your installer should identify this during the estimate walk-through.
Do you serve all Main Line PA communities?
Yes. Milford Mills Tile serves all Main Line communities including Wayne, Radnor, Berwyn, Devon, Villanova, Bryn Mawr, Ardmore, Haverford, Malvern, and Paoli — as well as Chester County, Delaware County, and Montgomery County broadly. We have over 20 years of experience and 1,000+ completed projects throughout the region.
Ready to Transform Your Main Line Master Bathroom?
Get a detailed, no-obligation estimate from Milford Mills Tile — Wedi Certified and Schluter Certified installers with 20+ years of experience serving Chester County, Delaware County, and Montgomery County PA.